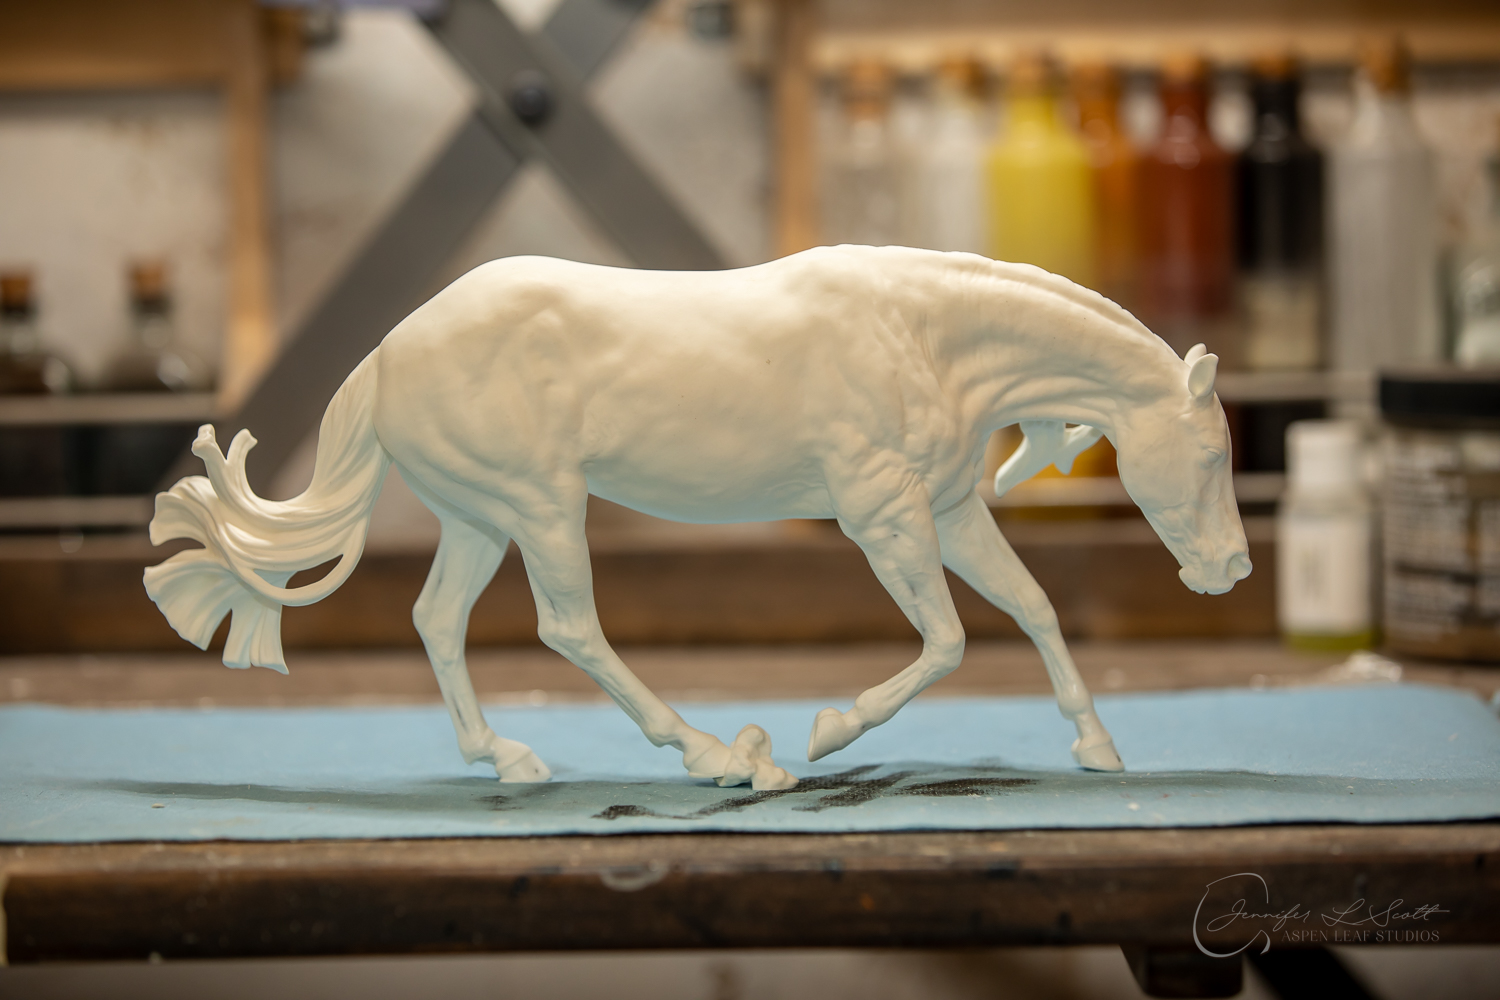
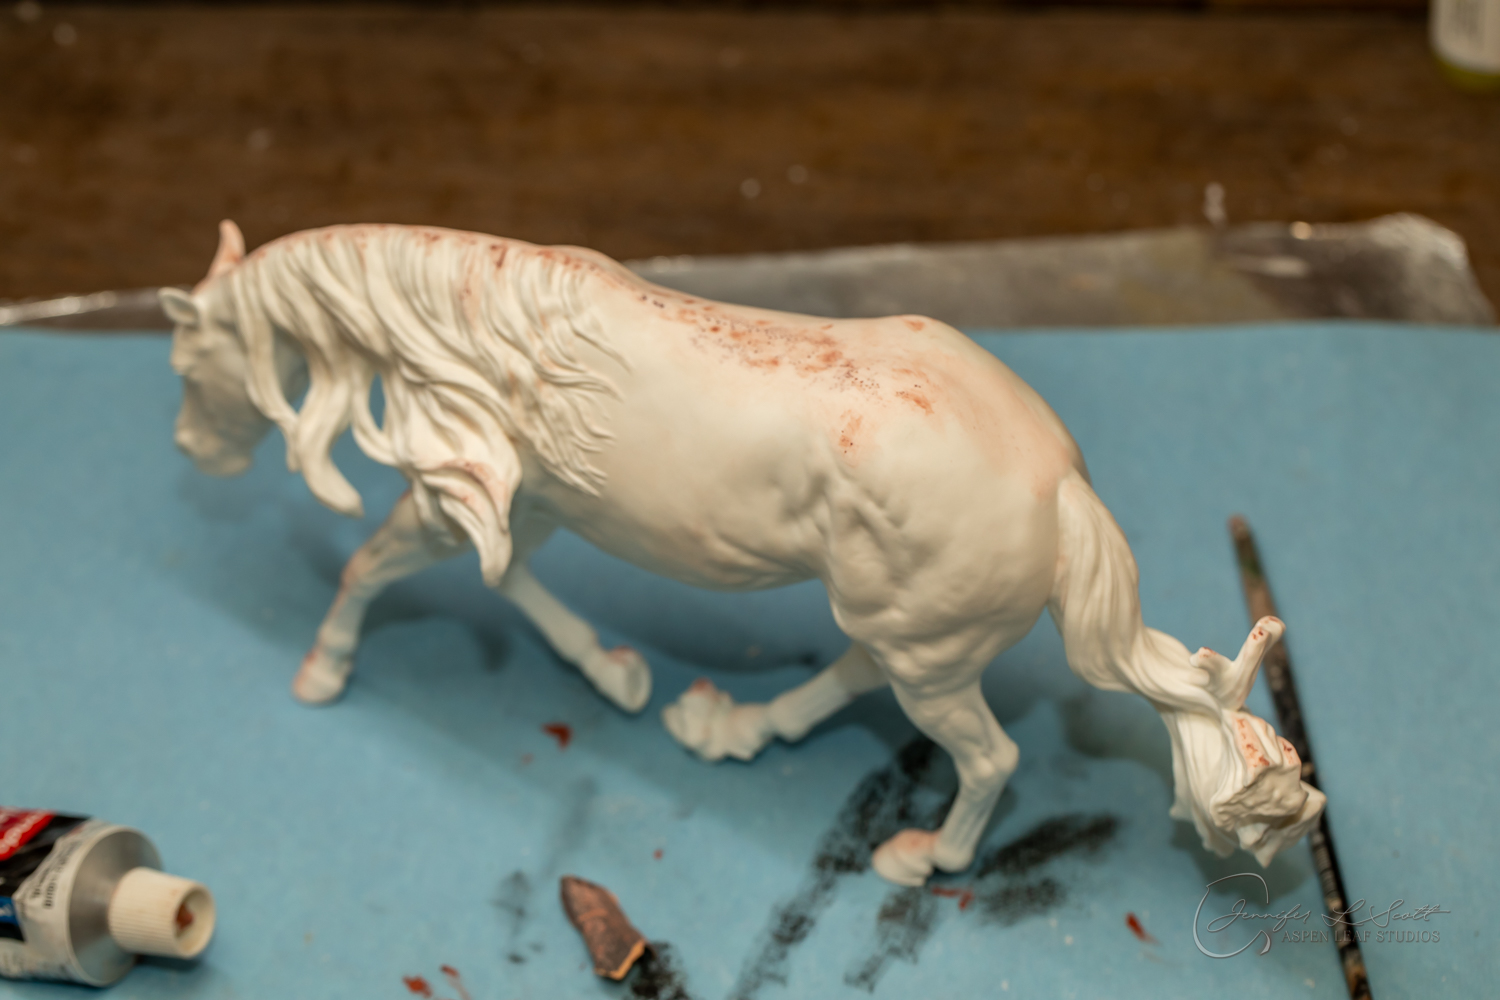
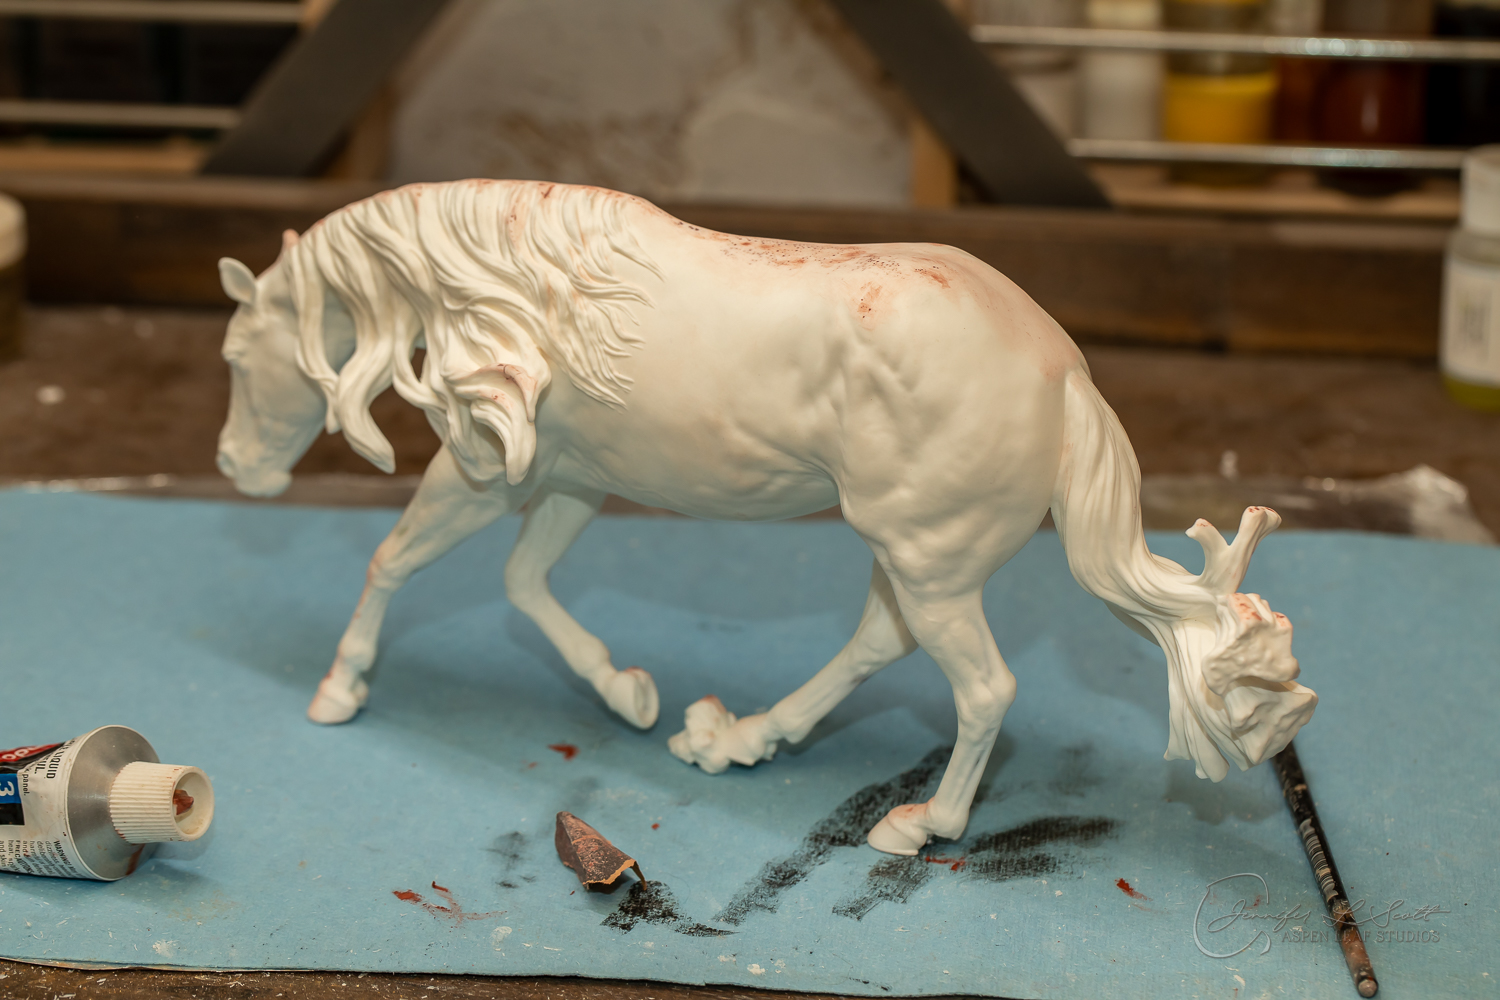
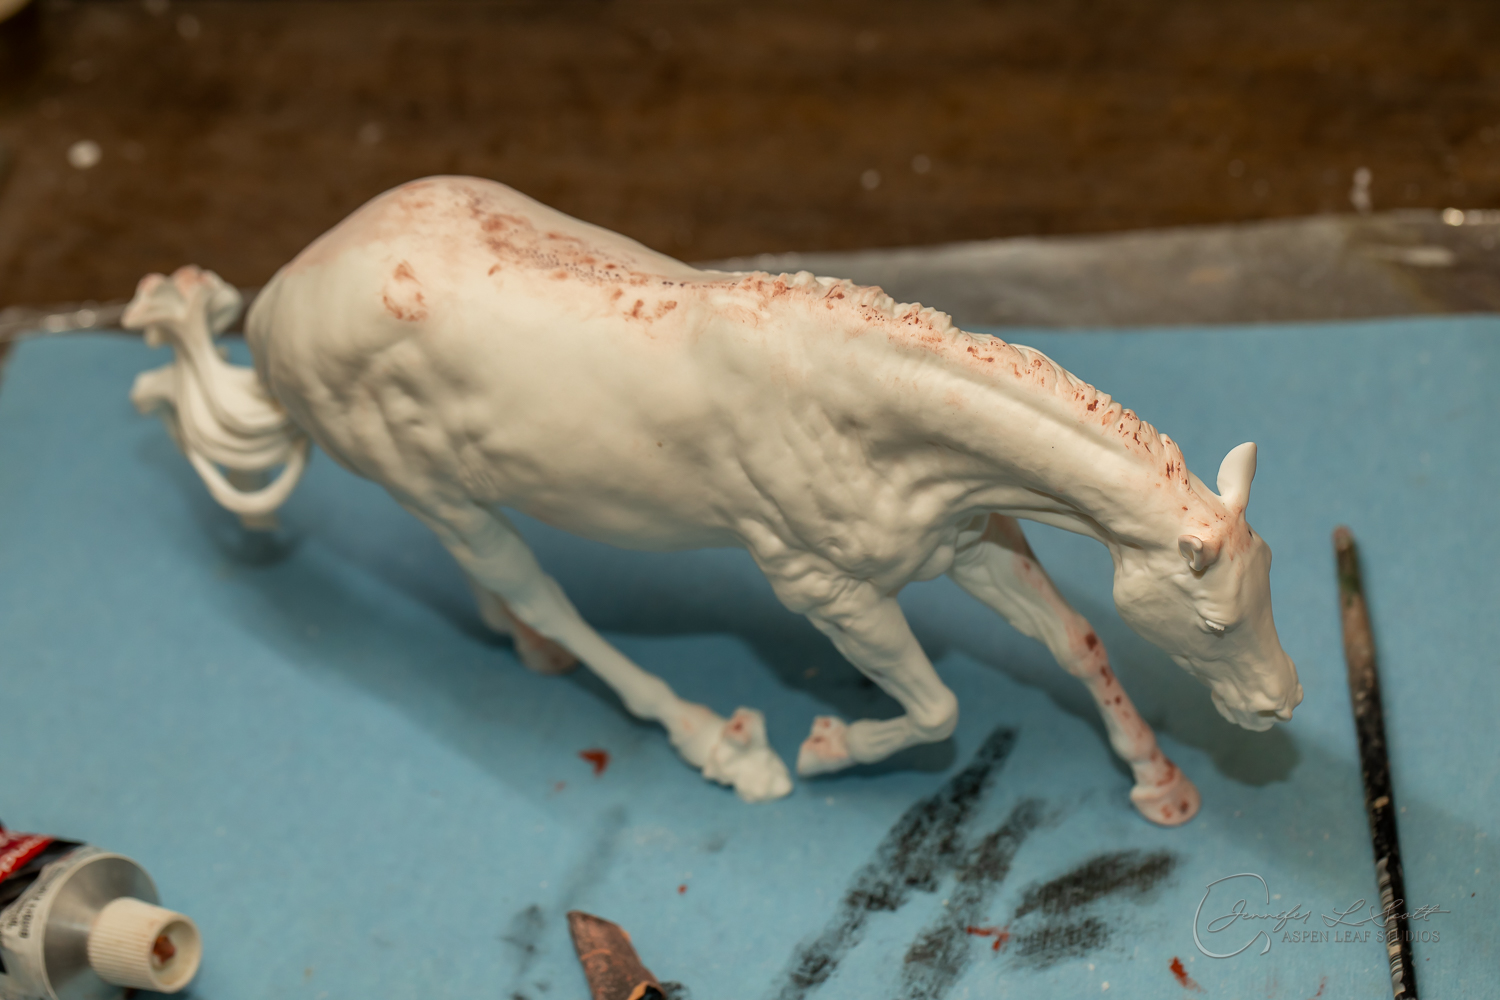
In this article, we'll go from start to finish on getting one of my Stetson resins prepared for painting. This tutorial is applicable to all resins, solid-cast or hollow-cast.
Prepping, or preparing, a resin for painting is your important first step to owning a lovely finished piece. It's creating a perfect surface ready you can then prime to give the paint a lovely base to adhere to and lay on top of. It's not a glamorous job, but a perfectly prepped piece is very rewarding in it's own right. As it's often unclear for those new to prepping how to go about it, I thought I'd give a step by step run down of what you'll need to do to get your own piece ready for a paint job.
First let me say that prepping is a must. It's not a step you can skip or skimp on. It's like the foundation of your house. If you skip corners here, your house (paint work) will not last. Those few more minutes you spend in this process will ensure paint correctly adheres and will add value to your final outcome. Like painting, prepping is a skill unto itself, so let's go learn how to improve that skill.
The first step I like to do is glance over the piece to determine the overall job scope. This helps me determine what tools and materials I'll need to get out and how much time I'll estimate spending on the work. In the steps below, I'll be listing my favorite prepping tools and materials to use to complete that particular obstacle so you'll be able to work out for yourself which ones you'll need and not need.
For Stetson, being a solid-cast model he'll most likely need some small fill work. My cleaner and I already take care of the majority of the fill work for you, as well as just about all of the seams, but as we're limited to the white/off white filler product there will most likely be a small amount of pinhole or spot fill needed as that product is not ideal (as you'll read in the next section).
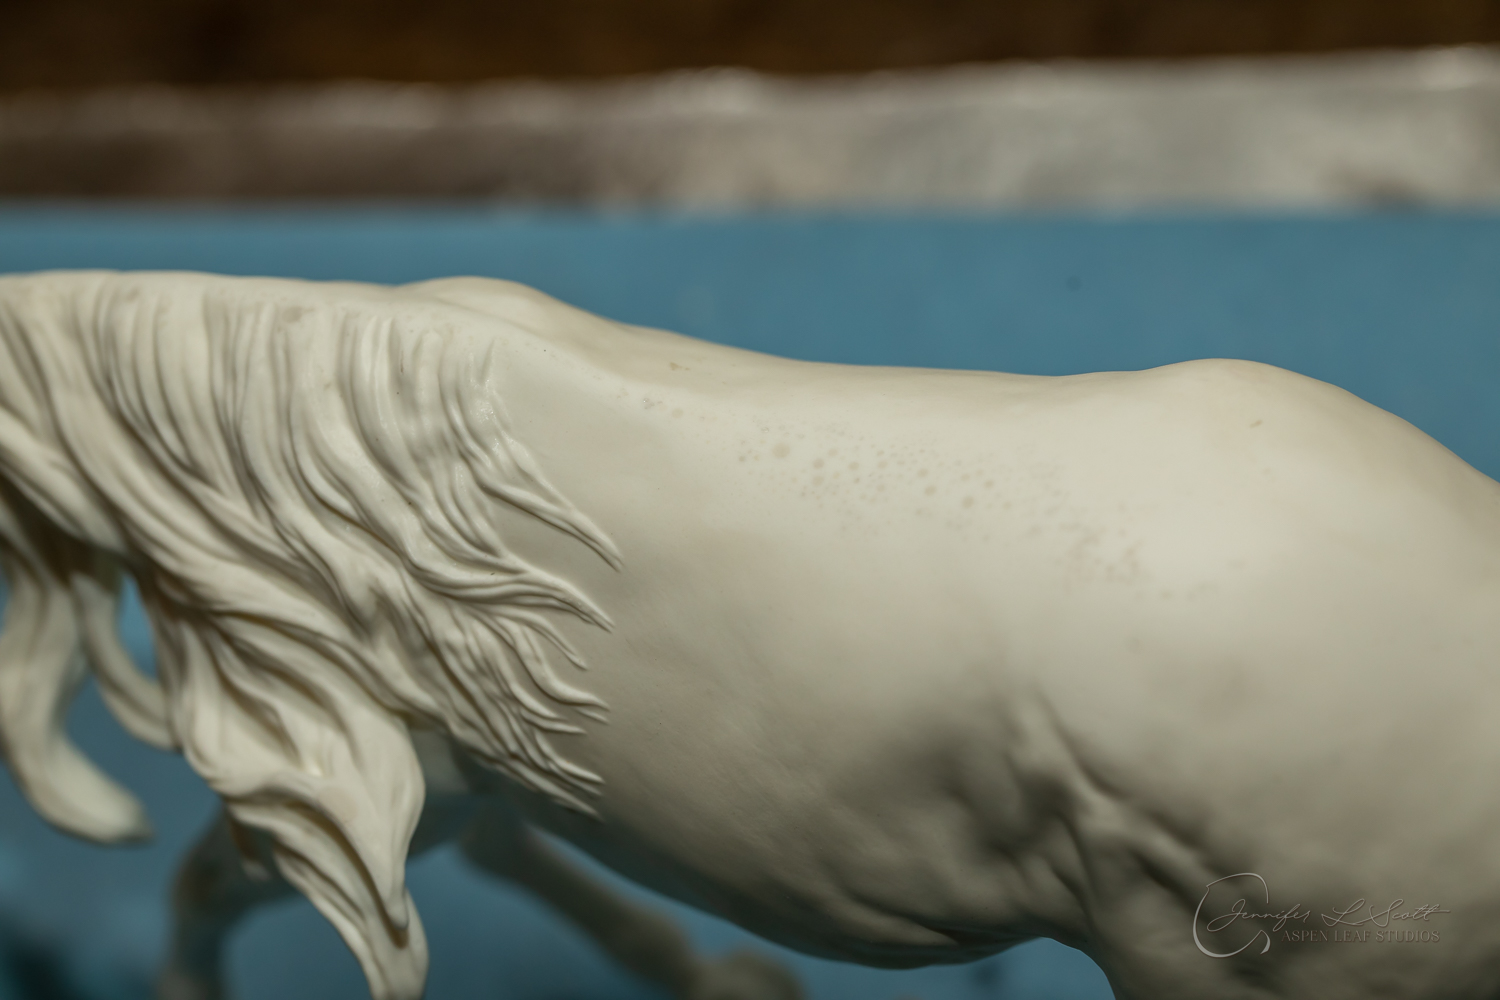
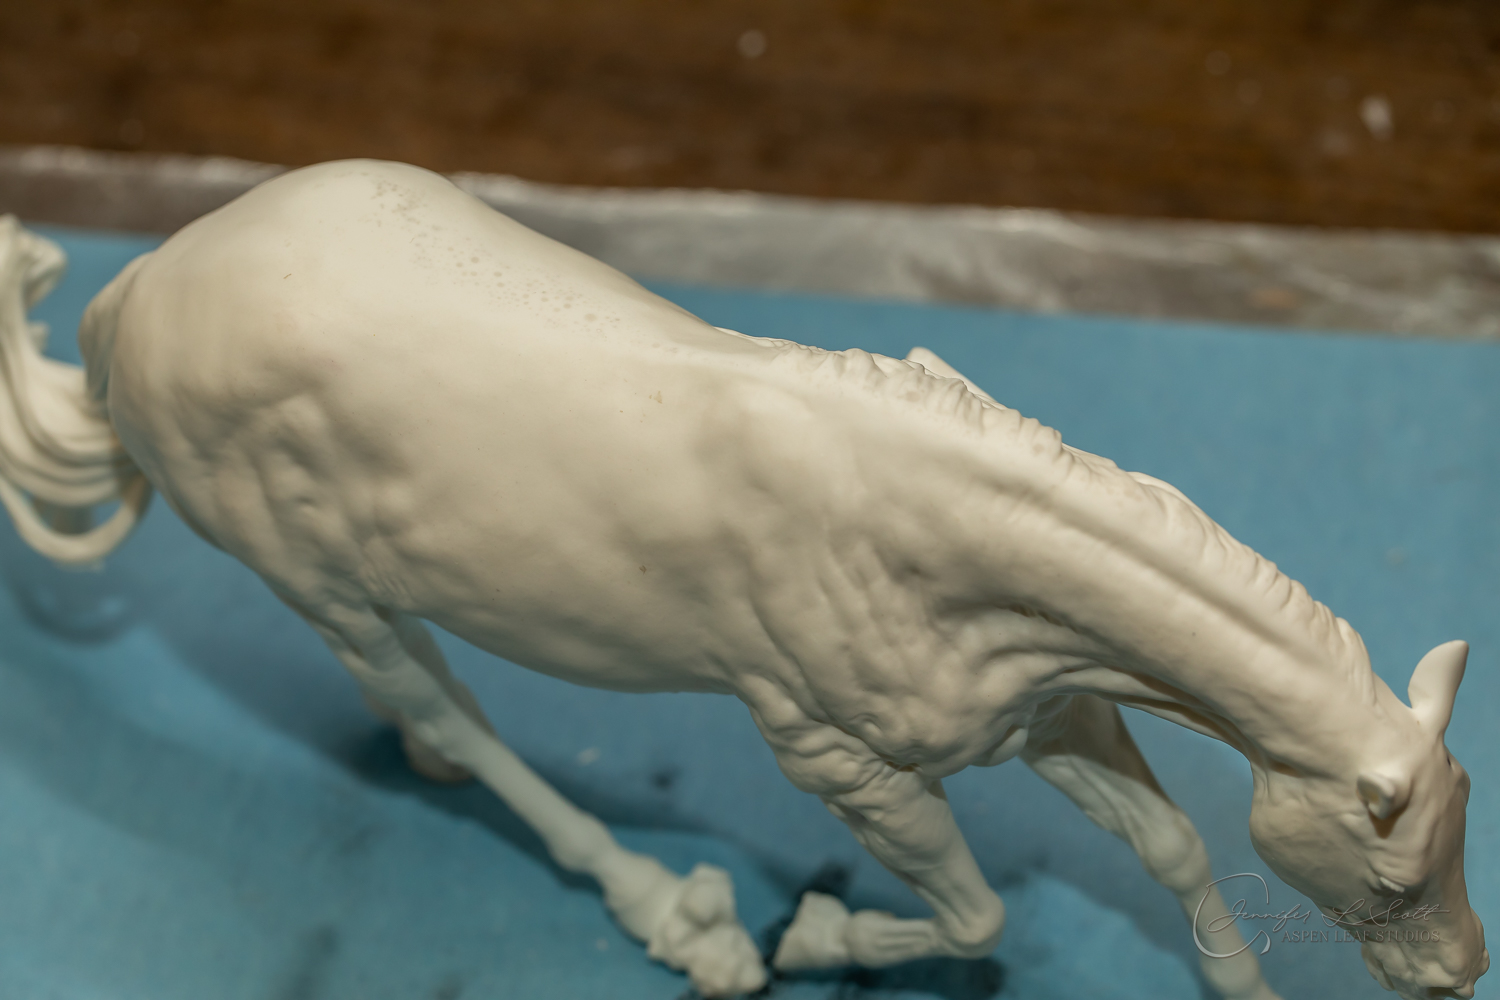
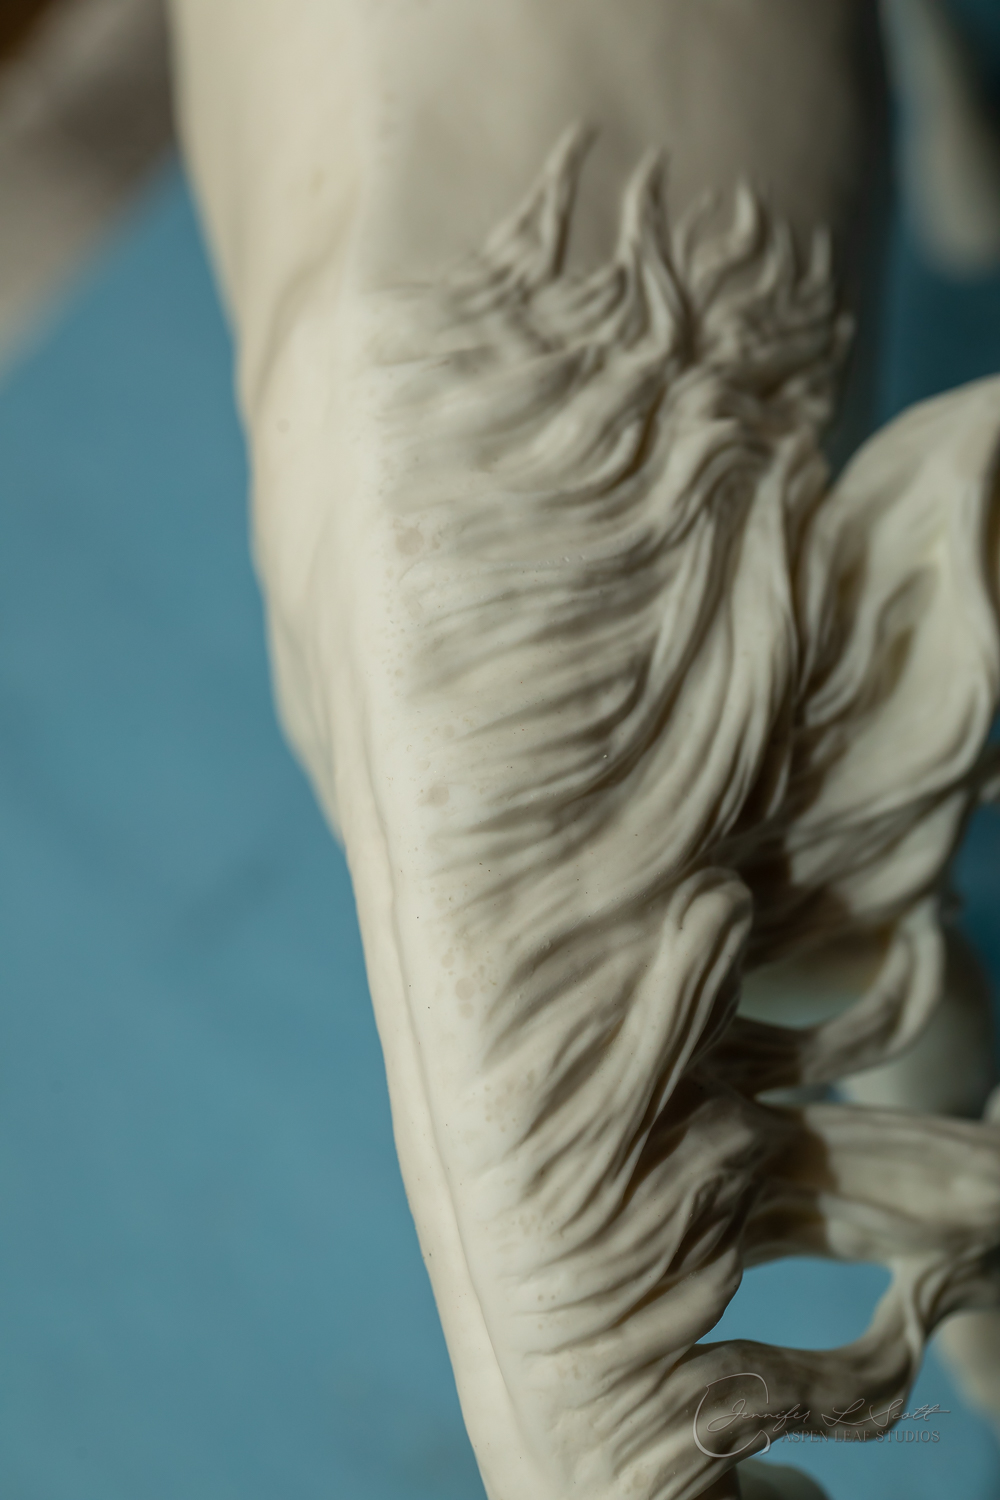
The Stetson I'll be using as my demonstration model here is a second quality cast, which just means there were things about him that didn't make him absolutely perfect and thus a first quality piece. While your cast is unlikely to need as much attention, it was a great example to use of how even a horse like this only takes a few more minutes of labor and can be easily readied for painting too. The amount of surface fill required for this guy was the biggest reason he didn't make the cut (see all the grayish/off-white spots? That's an epoxy clay - in this case Apoxy Sculpt, used to fill the majority of the air bubbles. Using the right product will make this a snap.
While step two and three can be interchangeable in order, I like to fill things prior to seam removal so I only have to break out the sandpaper once. If you have a lot of fill and want to give yourself a break, it's 100% okay to fill a little, sand a little, fill a little, sand a little. There's no rule that says you must fully devote your time to one before moving on the other. While casting resins, air is often trapped somewhere in the surface. This is true for both hollow-cast pieces and solid-cast pieces, but solid-cast are definitely the bigger offenders in this category due to the casting process itself. Especially on the less clean casts, or solid-casts that were not cured in a pressure chamber.
Fill work is divided into two types - big fills and small fills. Typically small area fillers can't be used to fill big areas, but you can use big area fillers to fill small areas (it's just not ideal). Big fill areas are air pockets more than 1/8" in diameter, gouges from a saw blade, missing or removed sections you have to sculpt back, etc. Anywhere you need a lot of material, consider it a "big fill" zone. Small fill areas are tiny nick spots or very small air pockets/pinholes. In a clean cast, you'll be mostly dealing with the small fill areas.
Fill work is just that. FILL work. You NEVER sand out these areas. I cannot stress that enough. I've seen so many good resins destroyed from over-sanding down areas that should have been built up. If there is a tissue thin skin layer of resin on the top of a pocket of air you can see, then you will take a knife or carbide scraper to just pop the top area of that skin off so you can squish filler into it. If you sand off the fill area, then you remove detail and shape from the sculpture, and this is a no no. Remember, you 're just trying to make an area perfect for painting, not debase the quality of the resin you're working on.
MATERAIALS:
- Epoxy Clay (two part clay) such as Gapaxio, Magic Sculpt, Apoxy Sculpt are great for big fill zones. These are very durable, cover large areas, and are easily sanded down to match the surface of the resin.
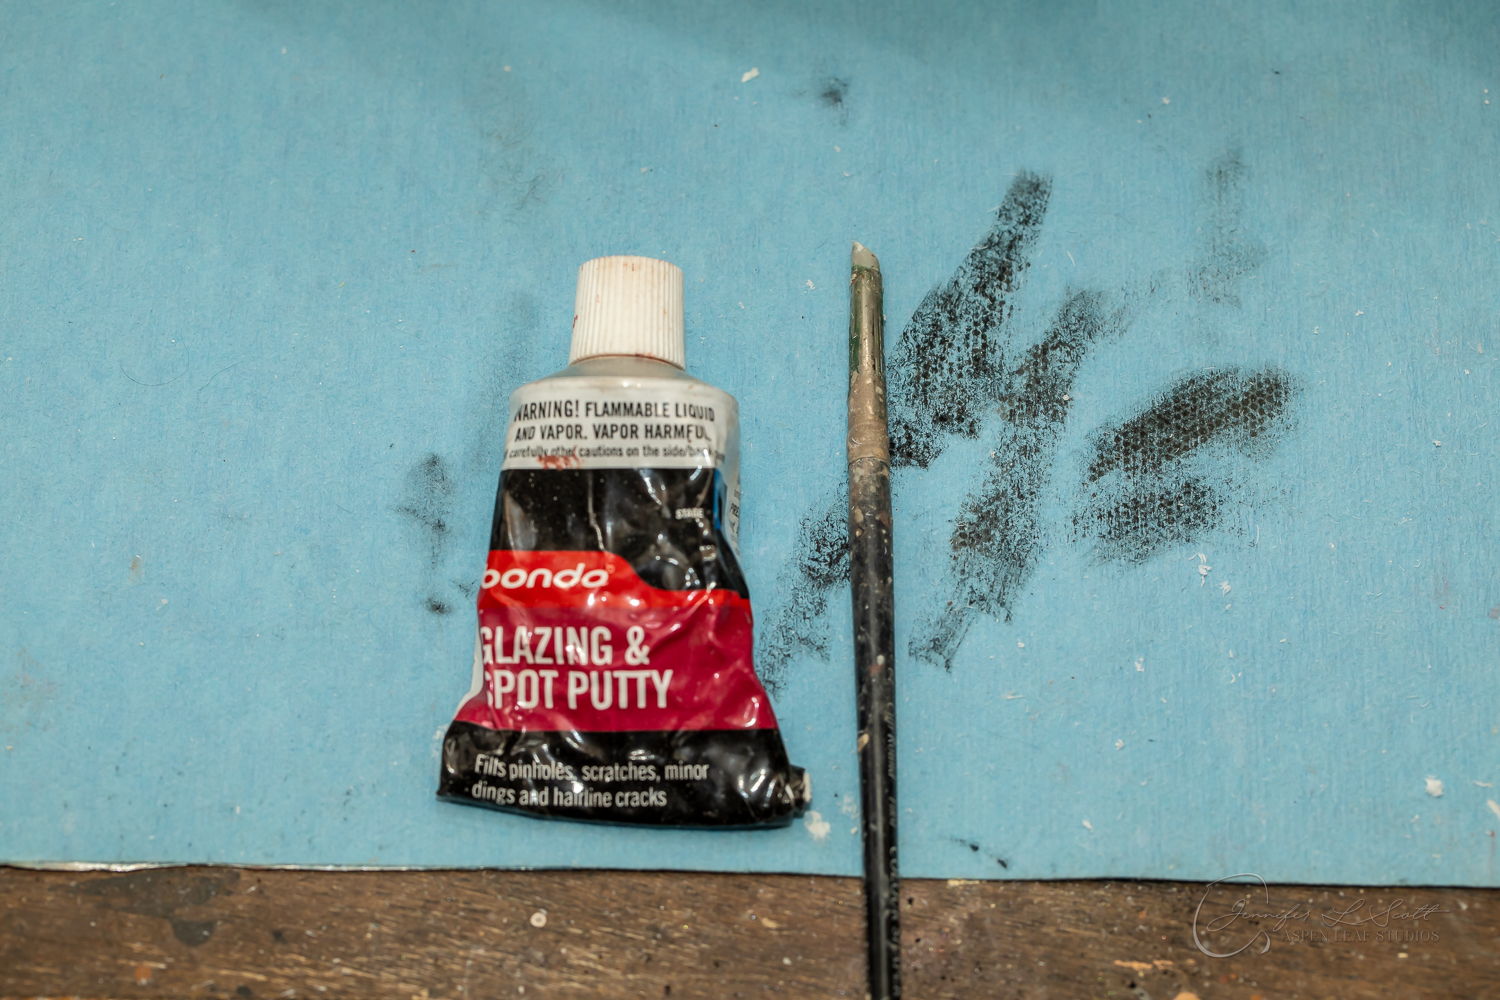
- Softer more easily "smear-able" products like Modeling Paste, Citadel Green Stuff, and Bondo Spot Putty work best for small fill zones. These are much more liquid-esque compared to the more clay feel of the epoxy clay and can be smooshed into those tiny little holes so much more easily. Each of these products has an area they're best in. For pinhole fill I love the Bondo the best. It's easy to smear around quickly, dries firm in around 30 minutes or so, and sands really nicely. Many people don't care for the smell though. Modeling paste is a nice alternative, but is a little harder to work with and the edges tend to flake off rather than sand smooth. I like to use my fingers for this one. Spot apply a little and then gently spread in a circular motion in the fill area needed. Modeling paste does dry to a workable stage faster, but it takes a day to really set. I feel it actually takes several days to a week to really reach the rock hard state though. Citadel Green stuff is a great filler as well and is probably my second favorite from Bondo. It does do a great job on the pinholes too and has slightly more "shaping" ability for those hilly mane/tail areas via manipulation with water. It doesn't have an odor either. It does have a higher shrinkage rate though so I find myself having to do multiple layers or really piling it on for sanding down later. It also has a fast drying time of around 5-10 minutes. Of course drying time will vary for all three of these products as it'll depend on how thick or thinly they were applied.
TOOLS:
Clay shapers are fantastic to work with the above products. Shape is completely up to personal preference, however I do recommend firmer rubber for the big fill spots where you need to be able to apply more pressure to move product around. I like shapes that I can use all the edges for different things - essentially making three tools out of one. I tend to like a narrow, pointy area I can use to get into cracks and creases and a larger flat area for those sites I need to "spread" material on.
You can use any sculpting tools, or even just your fingers with any of these too. Just be sure to clean your tools, particularly after the epoxy clays as those dry hard and you won't be able to flake them off like you will the small fill materials.
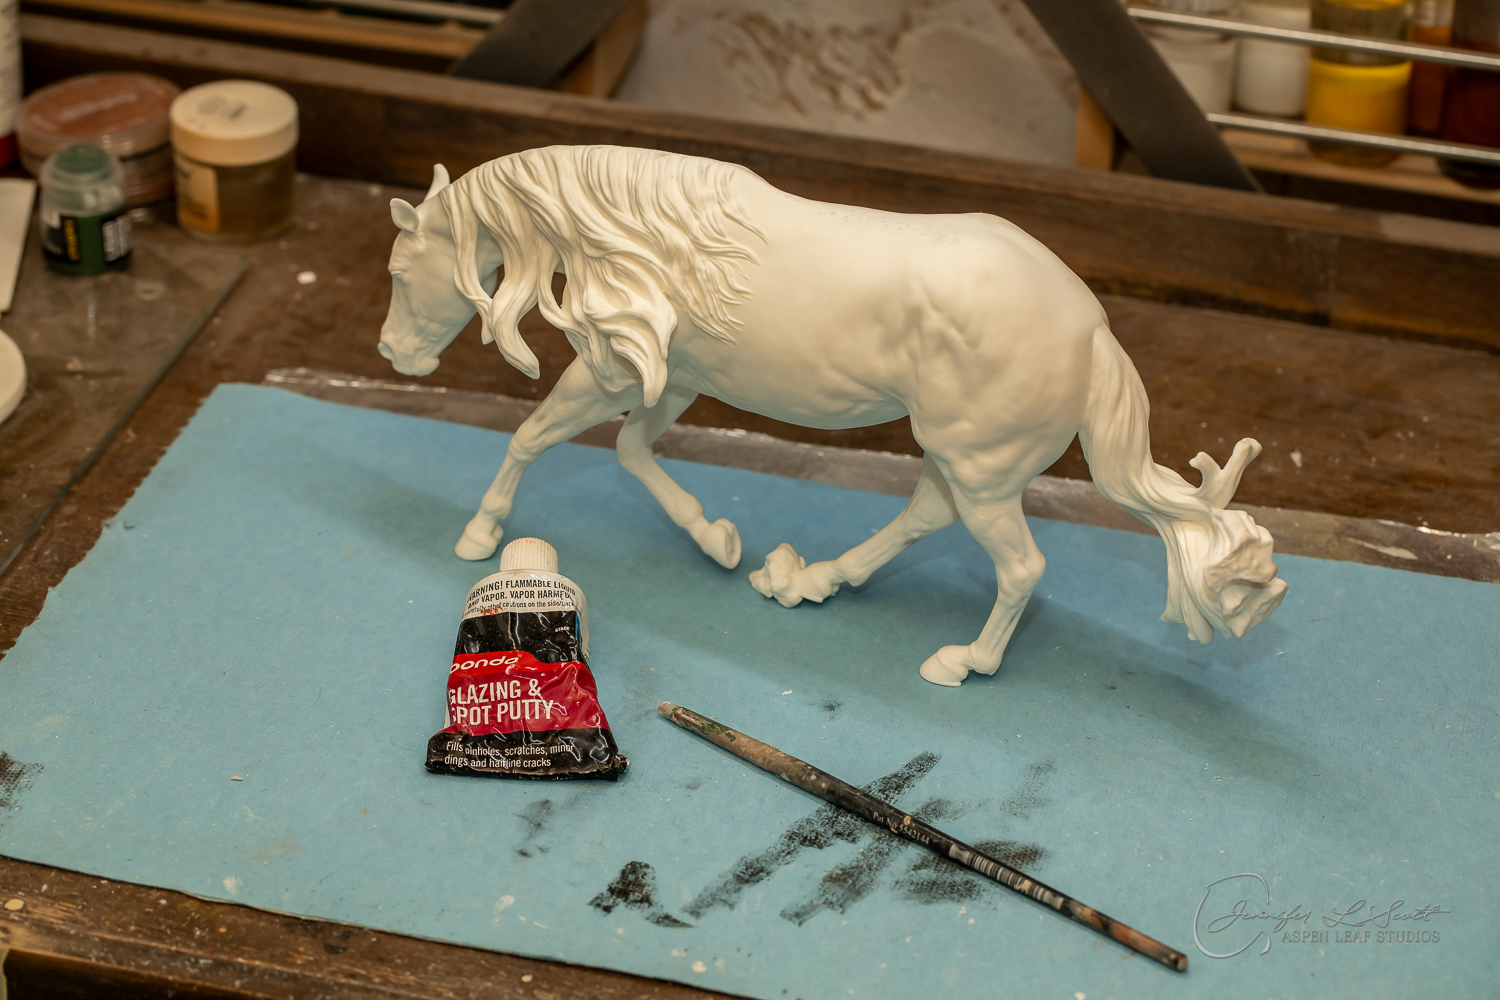
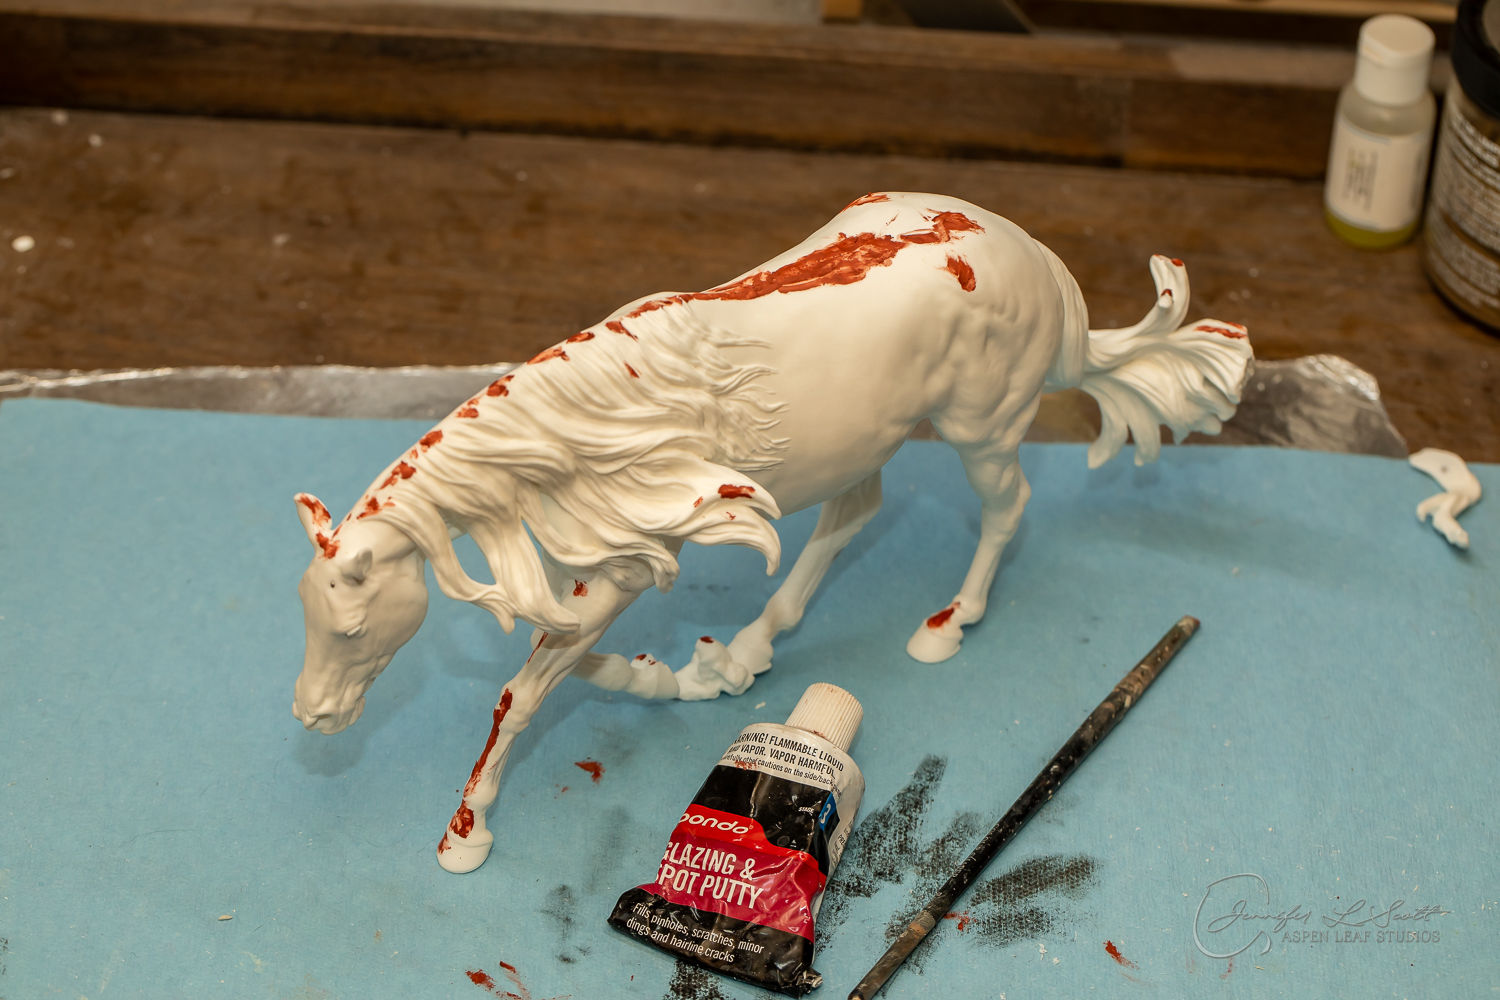
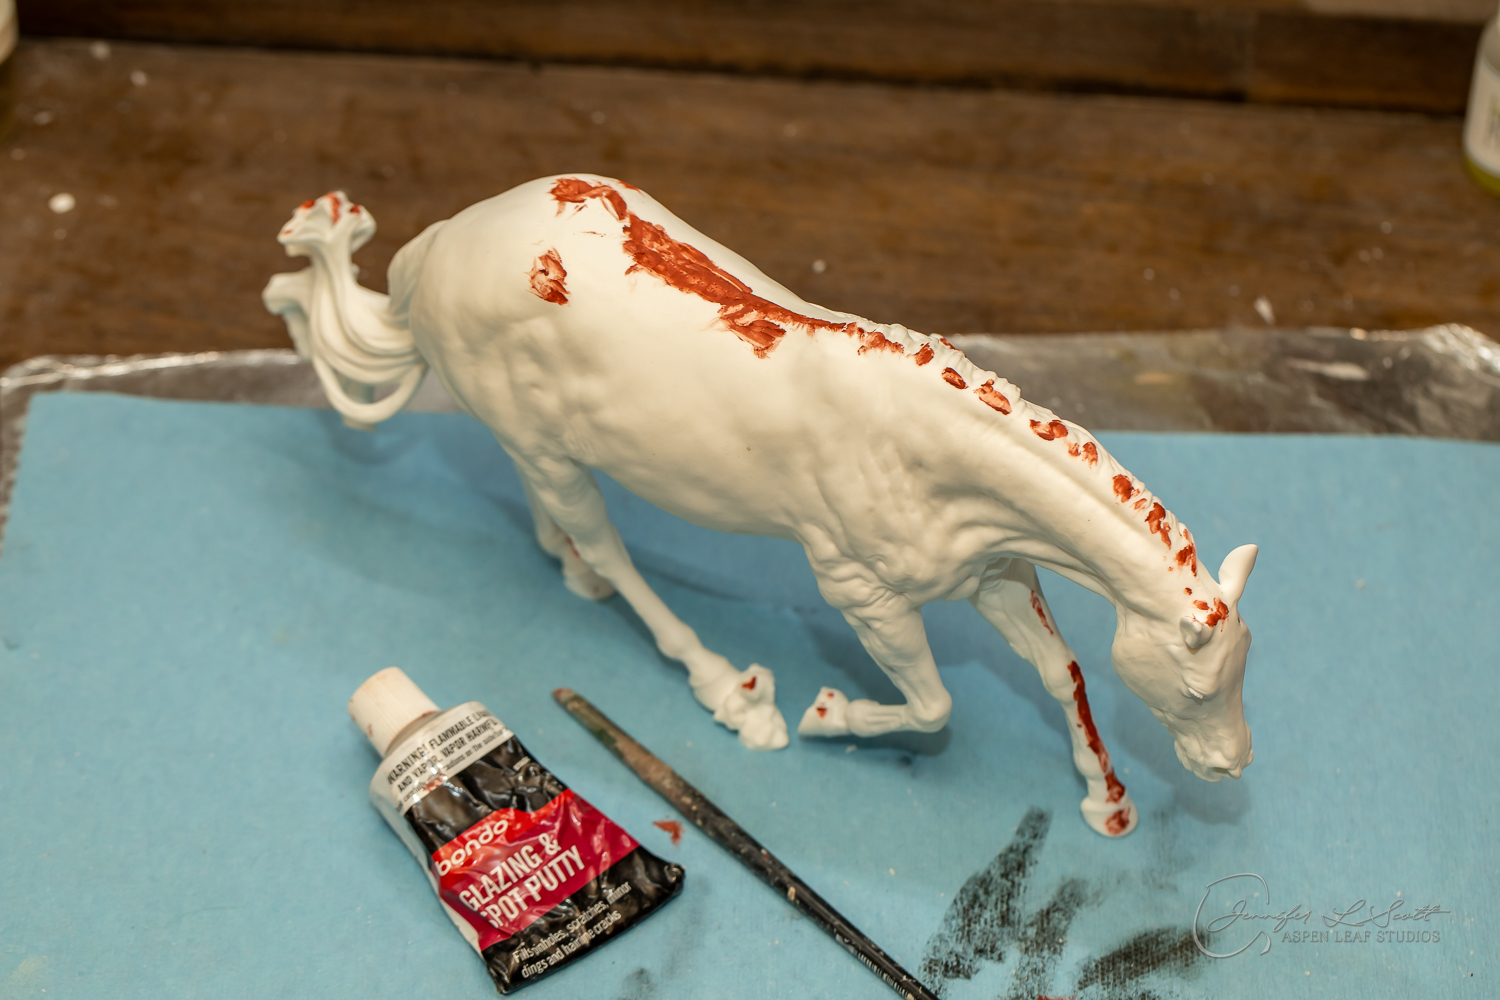
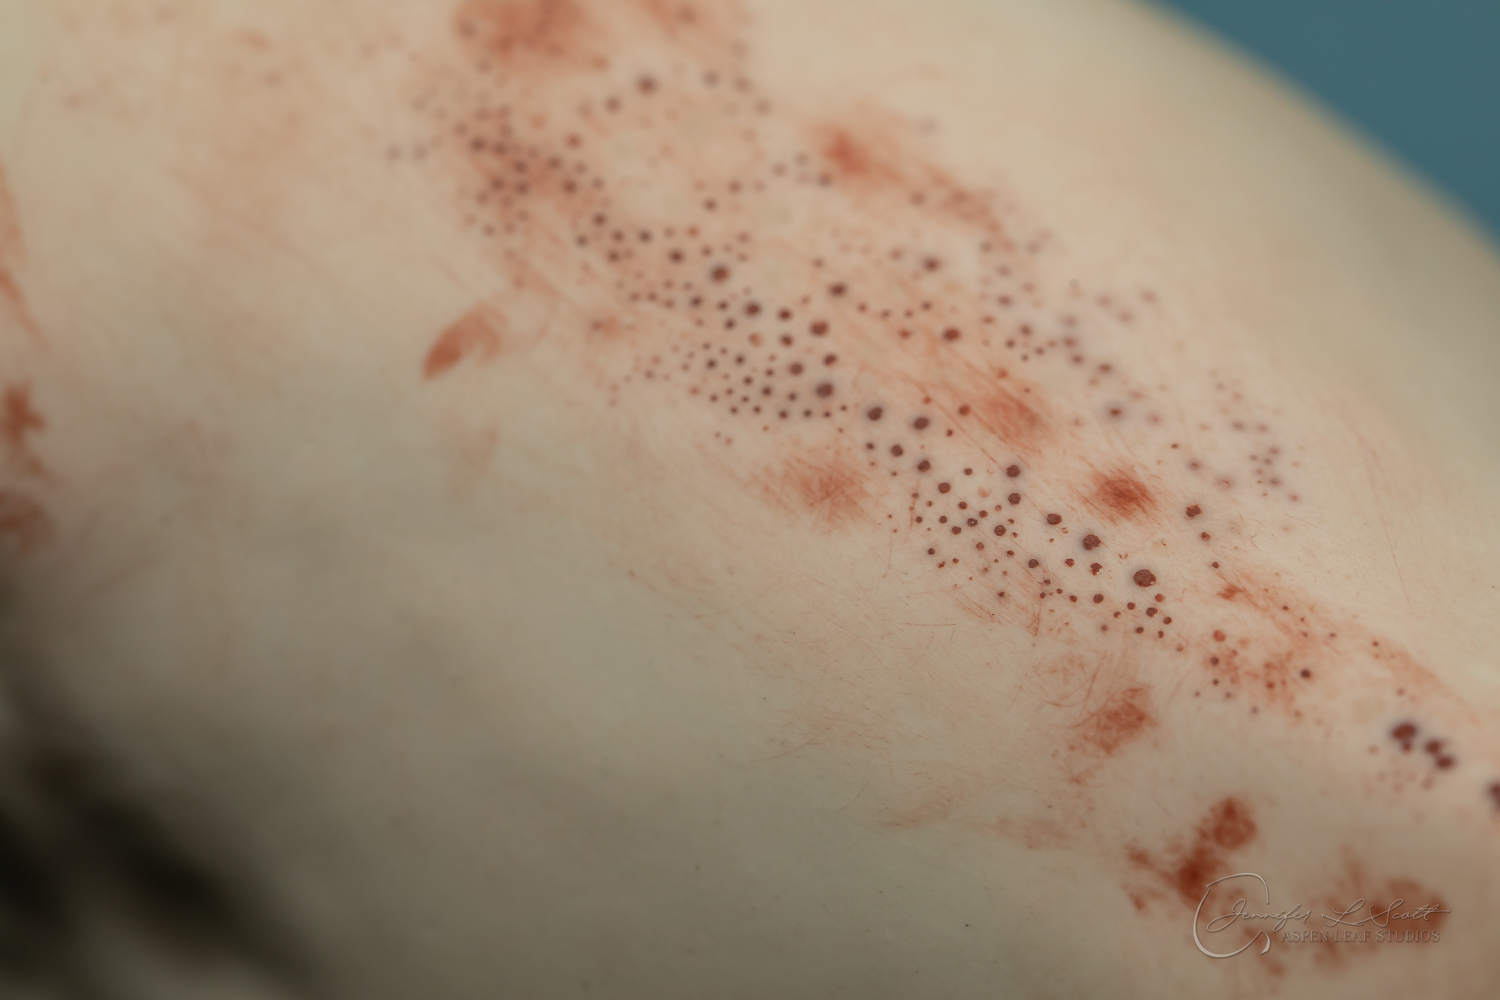
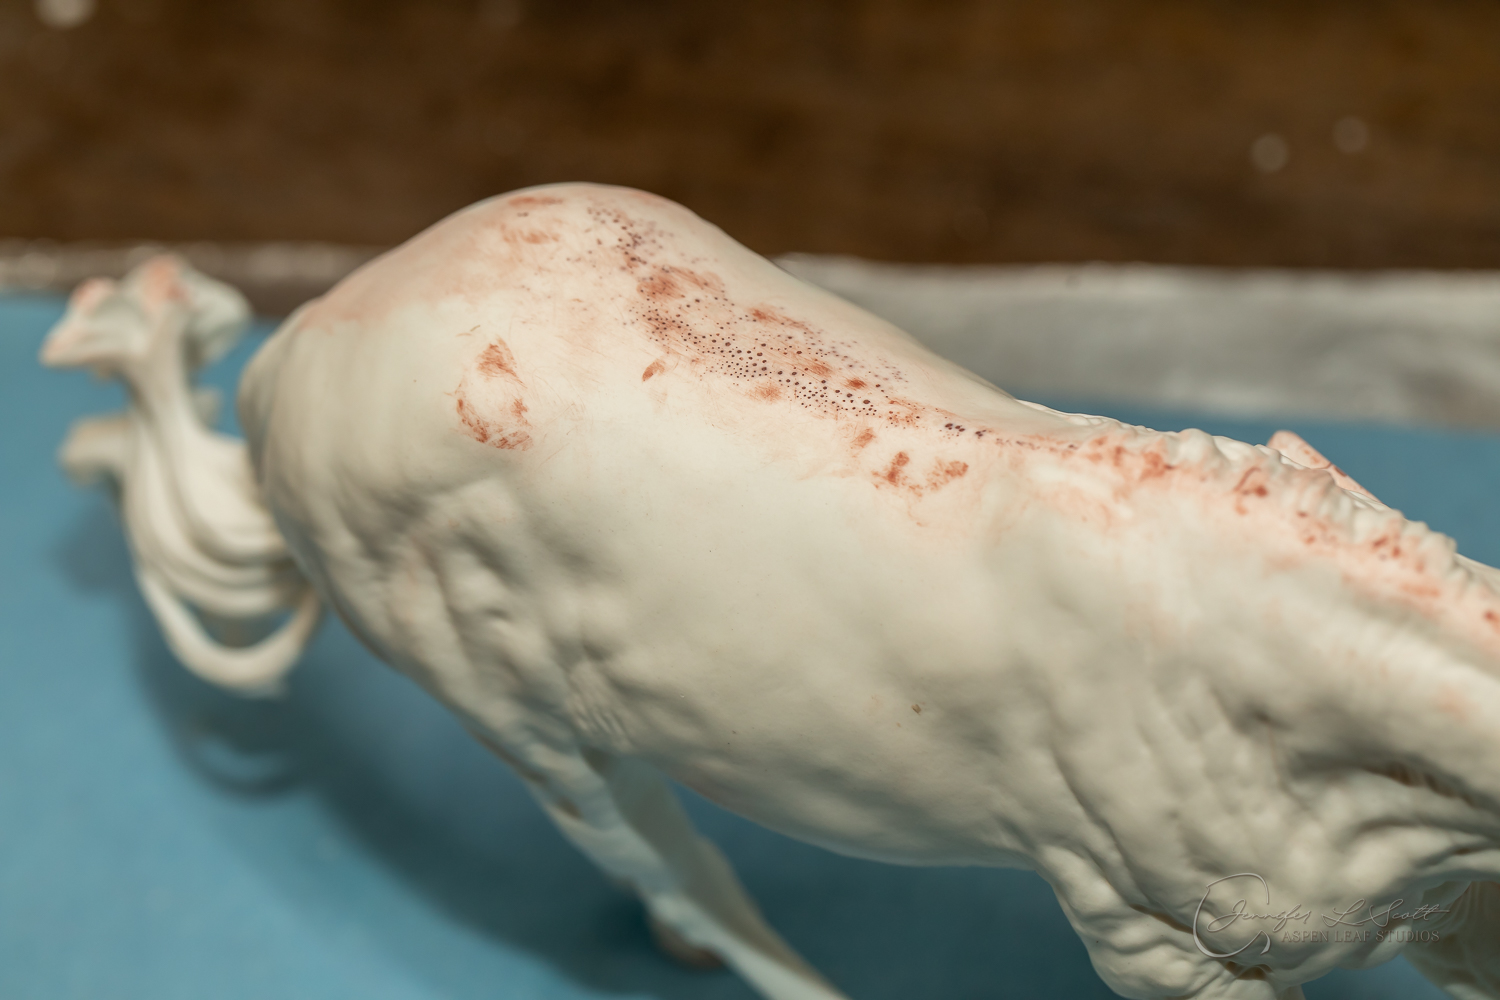
For the Stetson below, I'll be using Bondo Spot Putty and a small round angled clay shaper of medium firmness. I'll start by using the flat area of the shaper to generously apply and spread the Bondo along the pinhole zones. In the mane, I'll be a little more careful and use the tip of the shaper to remove extra Bondo from the hair creases, making sure to just fill where I need so I don't have to worry about really careful sanding later. Large easily-sanded areas like the back and butt though I'll go wild on. It'll shrink a little so I'm compensating with more filler than the hole needs. I'll let this all dry, and then I'll sand off the extra right down so it's flush with the rest of the resin's surface. When I put primer on, you'll never know it's there. If there are any other small fill areas, like a seam that went inward or an odd divot or crack, I'll apply it to those areas in the same way. In easily sanded areas, I'll sometimes put a spread of it down even if I'm not totally sure it needs it because it's so quick to do anyway. This whole process probably took 3 minutes of actual working time. So while it looks like it should have taken hours, Bondo makes the fill work EASY.
The next step after filling any spots needed on your resin are to sand down the seams. You've already got that sand paper out so you can hop right on in. I didn't go over sand paper grits in the last section, so let me do so here.
Sand paper comes in different grits. The higher the number, the finer the grit (softer sanding, leaves less sanding marks). The lower the number, the more abrasive the grit (great for sanding down things FAST, but you'll leave tracks). I personally like to deal with 100 grit for my "sand big areas fast" sand paper and smooth and finish things with a 220. I love a wet sand with the 220 at the very end to polish everything. You'll need a sand paper designed for wet sanding if you chose to go this route though, but wet sanding just takes away that last little bit of abrasiveness to a sand paper. The wet sanding with 220 is enough for me to get rid of any sanding gouges, but if you are struggling then by all means go up in grit to a 320 or 400.
PRO TIP: Do not practice sand paper necromancy. When you've proper used your piece of sand paper and it's no longer able to sand anything, let it die. Do not keep sanding (buffing) with the poor piece. Toss it and grab a new one and get the job done. It's disposable. Dispose of it.
So now that we know a little more about sand paper, let's talk about what we're sanding. Casts are made by strapping together multiple pieces of rubber which form a mold and pouring liquid resin inside which hardens to form our casts. Where the pieces of rubber joined leaves a (usually raised) area of resin we call seams. These need to be sanded and/or filled as necessary so that the end result is the resin looking like the rest of the piece. There are multiple methods of sanding seams. The point is that it doesn't matter how you do it, just that it needs to be done so pick your preference here. Some people use files, some people use carbide scrapes, some people use sand paper, some use a combination. I personally use everything. Whatever is going to get the job done most efficiently will always be my choice. Let me explain some basics so you can pick and chose how you'd like to try working.
Sand paper. This is a great first start. You honestly can get everything done with this if you don't have anything else. You'll always want to start with a more abrasive grit in a first pass and work your way down to your finest grit until there is no seam and sanding lines left. Work perpendicular to the seam. You can fold sand paper for a nice sharp edge to use in creased locations. You can also wrap it around a brush handle end for a more rounded pressure specific spot. Sand paper is very hard on your hands, so be sure to work in stages until you're used to it. It requires some muscle! This is the most laborious option.
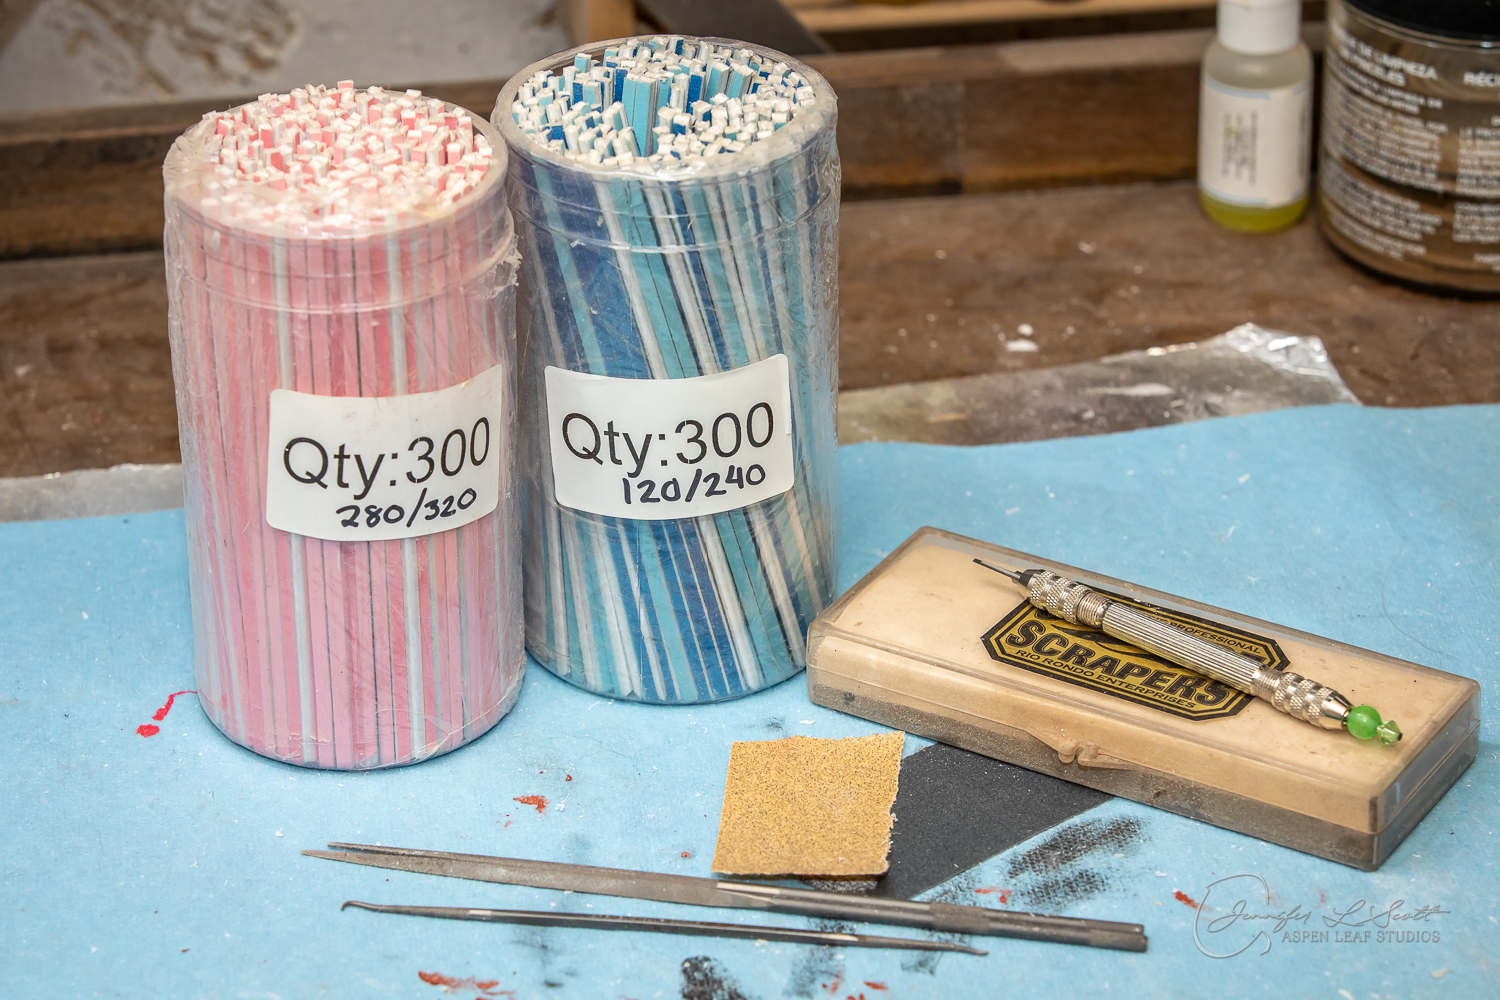
Sanding Sticks. These are super nice to get a great sand and save your hands. They're narrow and flat and can get into a ton of areas. I personally like the blue ones (120/240 grit), but the pinks are good for a softer sand. The yellow wide ones are great for the back and bellies - basically the big areas, and big flat spots you might need like the bottom of feet or hoof walls. You can buy these are durasand.com.
Files. Files are really nice for quickly edging things like the mane where there are many curves and not a straight flat area to sand. Flat/triangular files are great for the tight creases and round files are great for those softer dips. You can get some really fun shaped tips for those super hard to work areas too. I love the shepherd's crook! Files tend to sand off things fast though so be prepared to have marks you'll need to lightly sand after. I believe they do make different grits for the files so if you have the extra spending money, you can buy as many as you'd like.
Carbide Scrapers. I cannot live without mine. Period dot com. You can purchase a set of these or individual tips from Rio Rondo (riorondo.com). I have the set, but honestly the only one I need and use is the knife tip (CS05). The long straight edge is perfect for seams in general, but the outer curve of the tip works great to get into muscle groves, and the pointed part of the tip is great for creases like wrinkles and heel bulbs. One tool, many applications. A light sand after this will smooth out any tool marks on the piece. It's by far the fastest way to obliterate seams and still be mindful of detailed areas.
Dremels are another tool I haven't brought up yet. If you are buying a first quality, clean cast then you'll never need this as the producer has already done any work that might have required this already. If you have an effed up garbage-bin save then you may have some areas that this tool will save you on. If you have a large amount of resin that needs sanding or shaping, a Dremel (or comparative) with it's many different tips available is great. Especially with the flex shaft so you don't have to hold the weight of the machine itself. These are also good for getting into those harder to reach areas that sand paper is just taking forever to tackle.
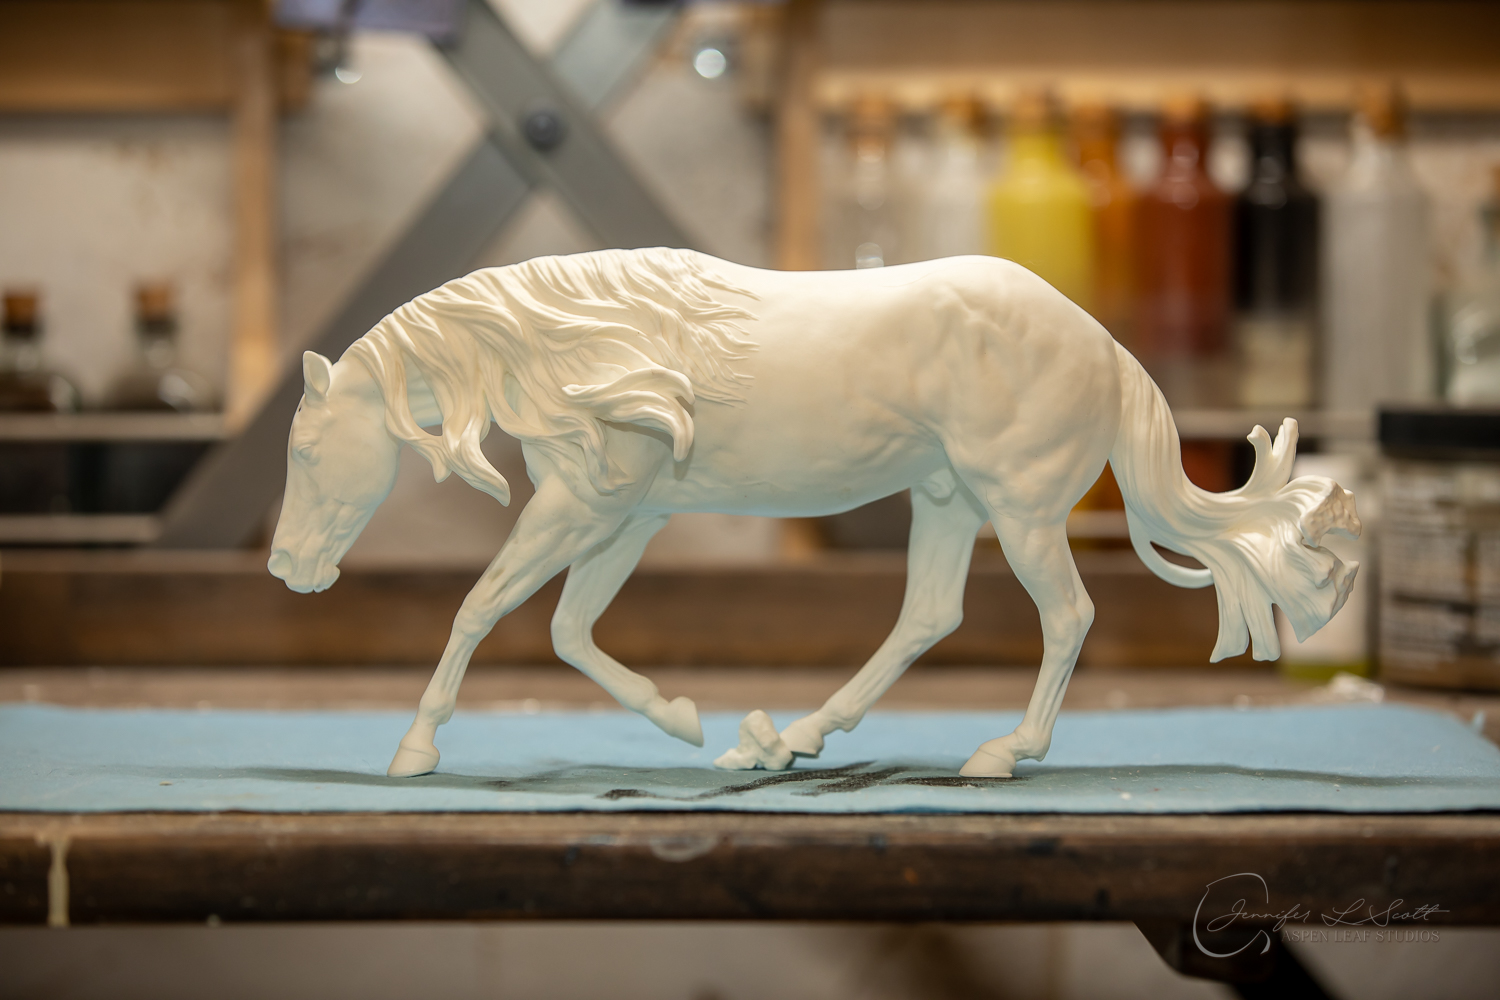
Stetson really doesn't have any seems left to show you by the time he gets to you (thanks to my amazing resin cleaner), so hopefully the descriptions above are enough to give you an idea of how to go about removing them. Instead, here's a picture of some of the sanding devices in my studio.
You're in the home stretch now! There's one last crucial step before you can go grab that can of primer though. It's time to bathe your pony.
In order to give the primer the most perfect surface to adhere to with absolutely no barriers in the way, your resin requires a bath. Not only are there oils from your hands and environmental dust there, but there's an even bigger material to worry about: mold release. During production, casters coat the rubber mold with a mold release agent to save it from excess wear and tear and to make pulling the cured resin out that much easier. I myself use it generously and I know I'm not alone in that. Just a little bit of this stuff left on your resin before you primer will ruin your future day when things later to start to flake off, exposing bare white resin again and ruining that paint job you just spent half your life on.
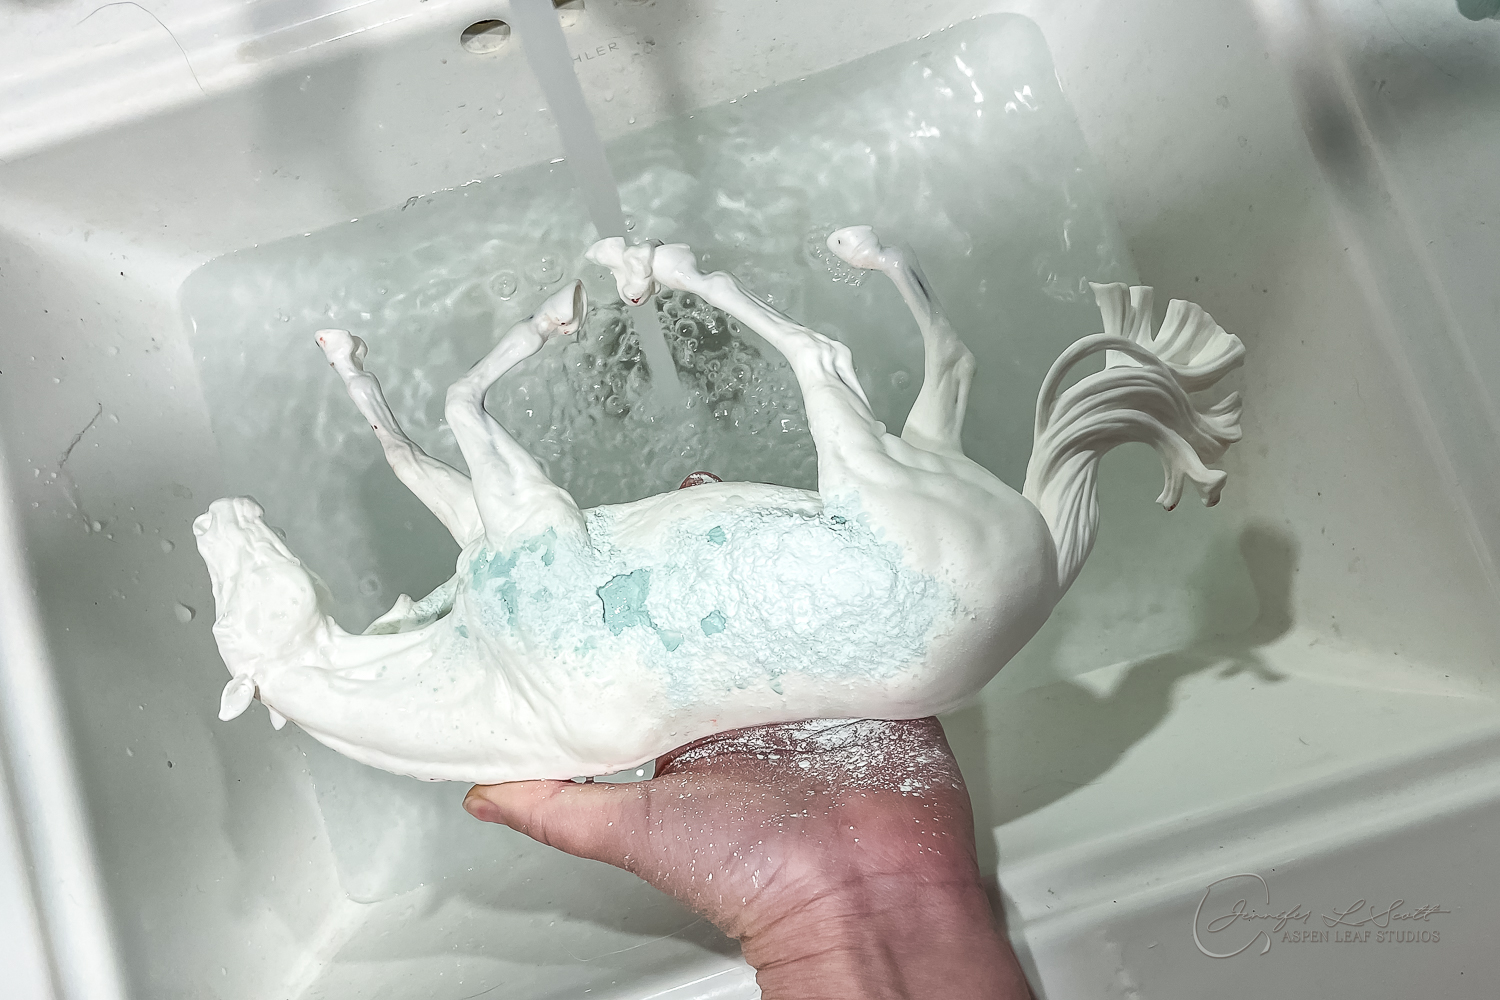
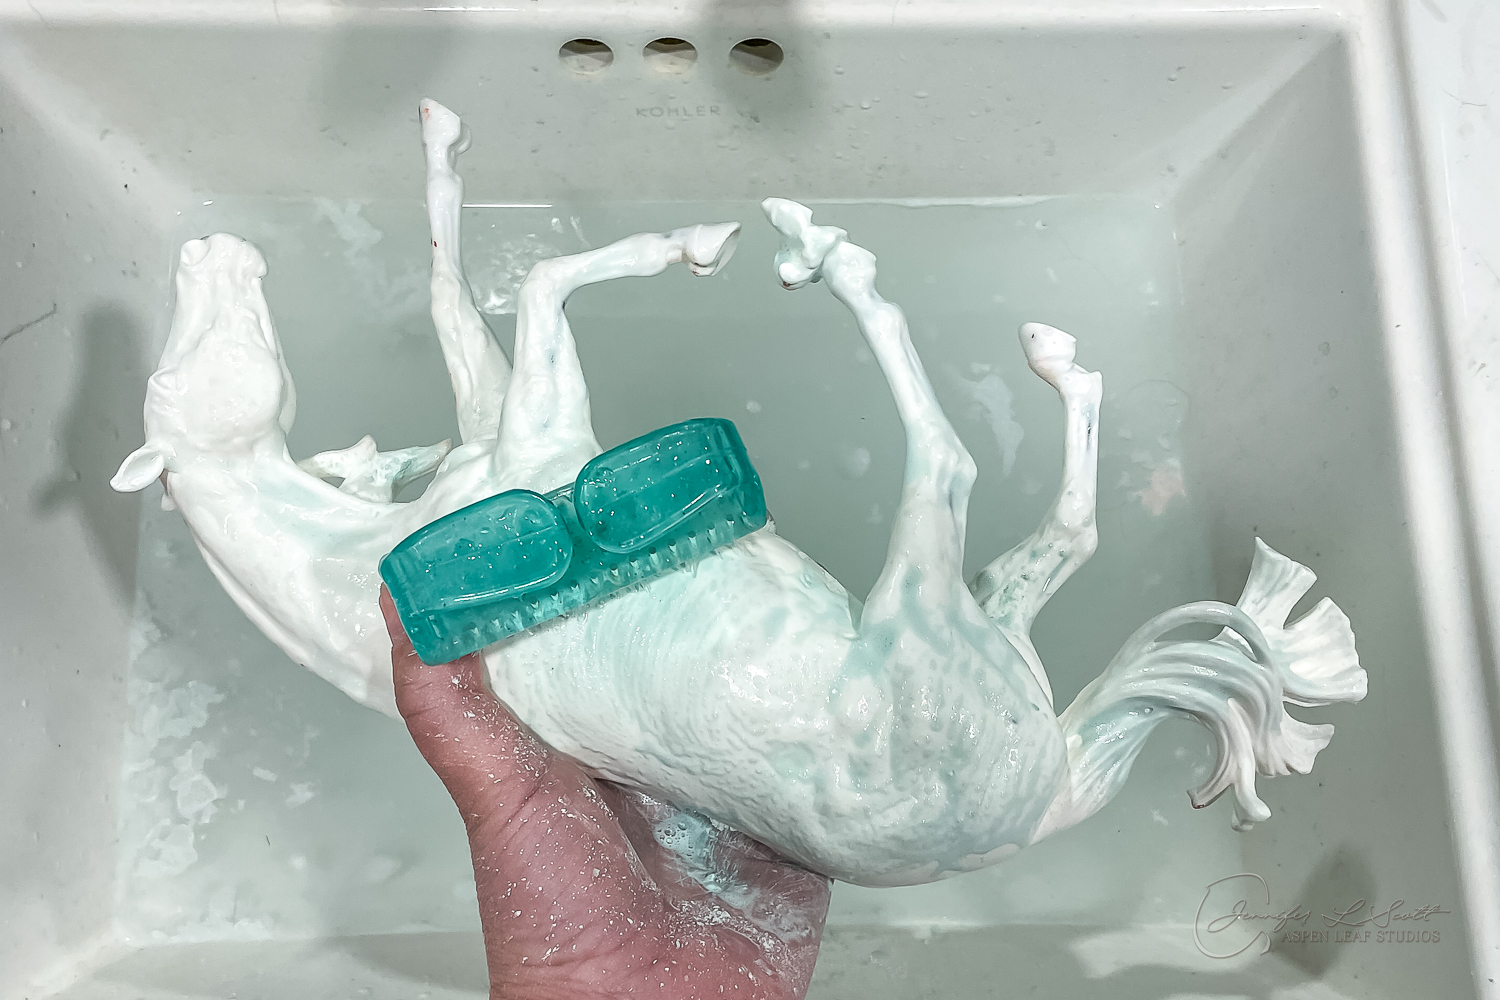
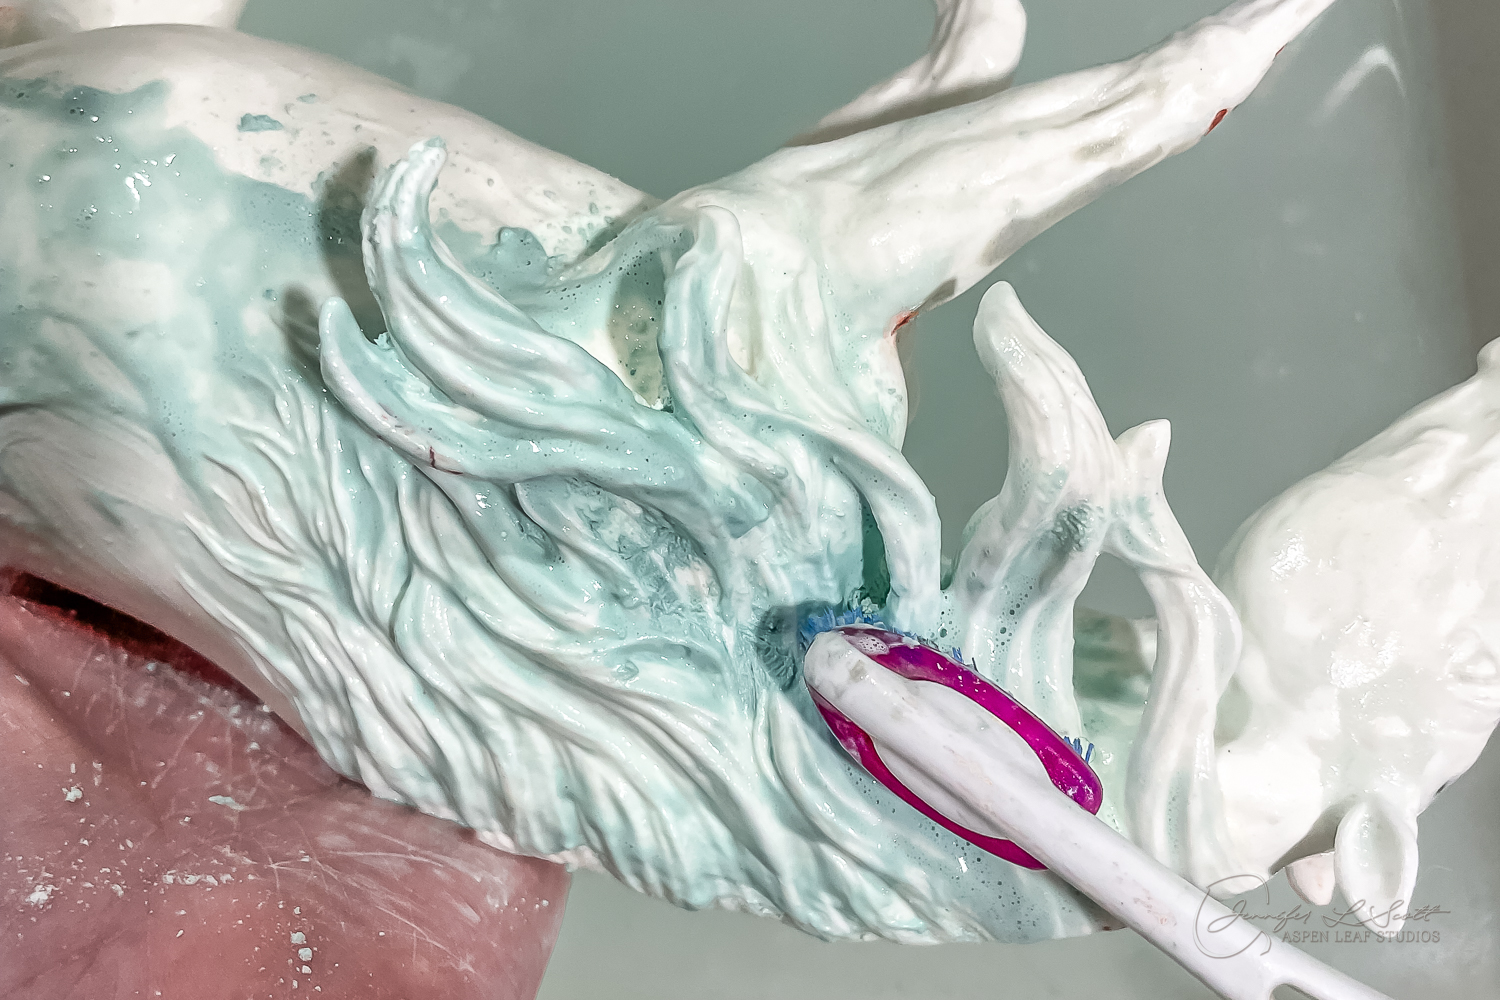
Have you ever hand-washed dishes? You have the skills necessary for this job. First we're going to apply a cleaning agent like Ajax, Barkeepers Friend, or Comet. I am using Comet in the photos below, which is a power form. I typically shake it directly onto the horse, drip my pot cleaner or tooth brush into the water and make the paste directly on the resin body. Really, solidly apply and scrub this stuff everywhere. The tooth brush is great for the hard to reach areas like under mane, nostrils, the butt crack, etc. You want your brush bristles to be stiff enough to really scour the piece but not so stiff that they leave marks behind. The cleaner will do the bulk of the work so go too soft rather than too hard on those bristles. Use warm/comfortably hot water. After you've thoroughly scrubbed every little surface of your model, scrub inside the water to rinse as well, making sure all the cleaner is removed.
Now your going to do that two more times. Yup. Once is not enough I promise. It's like the recycle facility's "triple rinse" procedure. Three times is key. I've had things still flake off when doing one pass, but I've never had anything happen to pieces after doing three passes. Please learn from my failures.
Once your piece is all nice and scrubbed clean (three times), then you should be able to feel the difference. There is a "grab" to the horse's surface that wasn't there before. You're done washing now, and it's time to let the piece dry thoroughly. I don't usually like to wipe down the piece with anything except maybe shop towels. I have giant, harry dogs and I found that if I used even a "clean" towel I'd end up with lint and hair in the piece that got exposed once I sprayed primer on. Letting the piece sit to air dry makes sure I don't wipe anything back on after spending the time to get everything off.
AT LONG LAST. Primer. But I'm going to tell you the cold hard truth: you most likely aren't done after you spray that lovely coat of primer on. My friend, you probably have at *least* one more round of filling and/or sanding after this. Because that first layer of primer reveals all. This is just the "how many things did I miss" layer. You're about to learn just how difficult it is to see things on that pretty white piece. Because the moment you turn it gray or red, the truth hits.
Primer is deeply personal. I will tell you my favorite that I've had success with for 20-30 years, but know that there are others who hate it as much as I love it. I like the Krylon red primer. It's been Rust, Ruddy Brown, Ruddy Red, and I think it's current name is Red Oxide. It's the only red primer Kyrlon has. They have a white and a gray. The gray is just like the red - really nice, kind of goes on plump but really sucks down into the piece and tightens up around the details. Good tooth, but not too much. The white I tried once and thought it was crap. Way too thick and chunky. In fact just about all white primers feel this way to me so if I need a white base, I will hand paint white gesso over the red Krylon.
My recommendation is to spray that first layer light. Then see what you're up against: what seam you forgot to sand, how many fills you forgot or didn't quite get flush with the rest of the piece, where you left the scrape of the file or sand paper, etc. Then, you'll just go through steps 2 and 3 as many times as needed. I like to lightly sand down on the primer in areas before filling or hard sanding more because sometimes just the leveling of the primer "fill" does the job and your second layer of primer covers it up. Sometimes you need three or four layers of primer/sand/primer. At this stage in the game, the point is to work WITH your primer and let it help you finish the job. Don't be afraid to sand back to white resin in places when needed. Don't over-sand though - remember FILL fill spots. But if you're literally just a tissue-paper thickness away, the primer can probably get the job done. Having said that, unless it's in a place with zero texture and detail, never thickly apply primer to get the job done. No matter how appealing the thought may be, it's not doing things the correct way. Take the time. It'll be worth it in the end.
I actually like to walk away from a piece at this point. Freshen my eyes up and then come back a few days minimum later. I find I see a bunch more things I didn't before that I can fix before painting. I may do this two or three times until I've confident I've gotten everything at long last. Finally, after all of that, you're ready to start painting!